
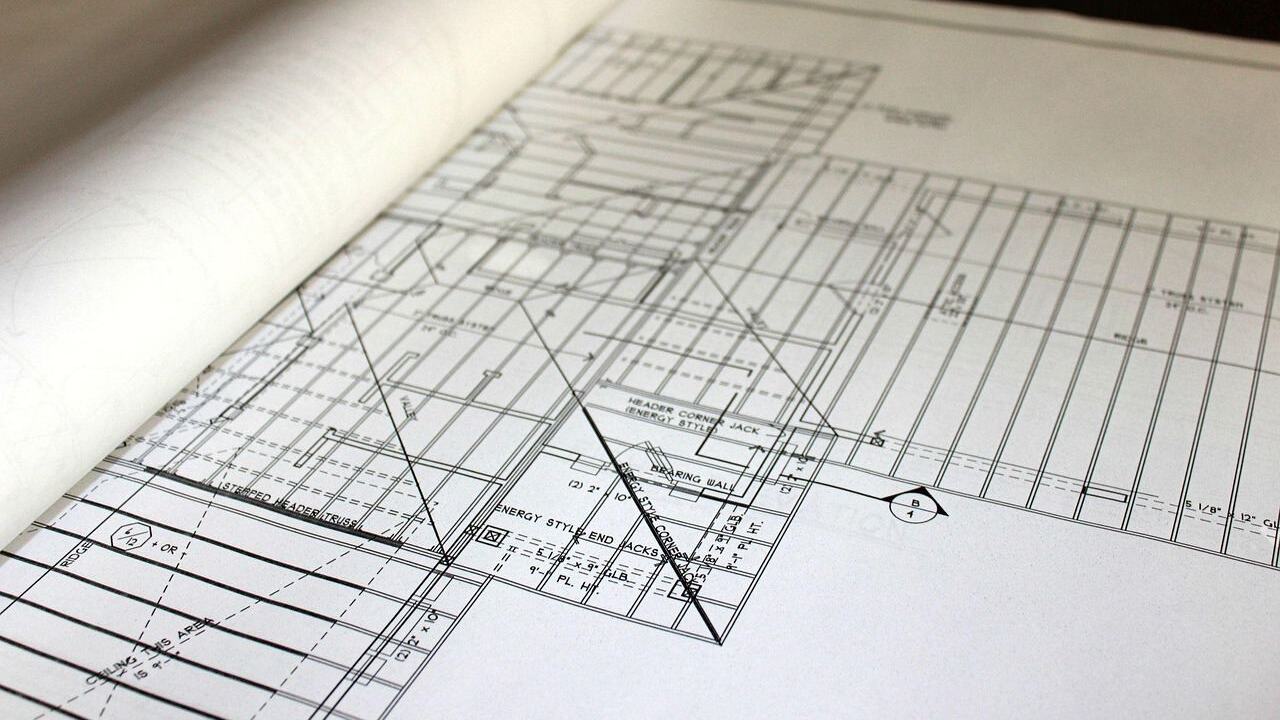
Wondering how to read a floor plan without feeling lost? Check the scale first, then orientation, walls, doors, windows and the legend. Work through them in that order and the rest of the drawing makes sense.
This guide sits within our wider overview of architecture basics, which covers how buildings are described on paper.
| Item | Value |
|---|---|
| Common ratio scale example | 1:50 (one plan unit stands for 50 real units) |
| Scale of 1:100 | 1 centimeter on the drawing equals 1 meter on site |
| Typical plan cut height | About one meter (three to four feet) above the floor |
| Dimension label example | 14′-6 means 14 feet and 6 inches |
These figures come from RoomSketcher and Cursa. Conventions can change between offices and countries, so check the source and the plan’s own legend before you rely on them.
Start with the title block and the scale
Before you look at a single room, find the title block. It normally gives the sheet number, name, scale, issue date and revision information, as ArchitectureCourses.org explains. If the scale is not there, you can typically find it in the legend, according to RoomSketcher.
Scale shows up in two main forms:
- Ratio: a figure such as 1:50, where one unit on the plan represents 50 of those units in the actual space.
- Graphical scale bar: lay a ruler or string along the bar and compare its length with the markings to find the real distance.
With a 1:100 scale, 1 centimeter on the drawing equals 1 meter on site, as Cursa describes. ArchitectureCourses.org notes that a common residential floor-plan scale is 1/4 inch = 1 foot.
Do not simply press a ruler against a screen. Printing or zooming can distort the size, so rely on the written dimensions and the scale bar rather than measuring blindly.
Reading the dimensions
Look for lines or arrows next to the walls. A label such as 14′-6 means the wall is 14 feet and 6 inches long, according to RoomSketcher. Three details change how you read those numbers:
- Interior measurements show the distance between the inner surfaces of walls in a room.
- Exterior measurements provide the building’s total outline, including wall thickness.
- Some plans use centerline dimensions, so you need to subtract the wall thickness to get the room’s accurate size.
Find north, walls and rooms
Once you know the scale, orient yourself. Most floor plans incorporate a compass rose or a simple N arrow, which tells you which way the building faces. That matters when you later compare the plan with the outside views.
A simple routine keeps you from skimming past useful detail:
- Find north and the entrance, because orientation helps you connect plan and elevations.
- Pick out the walls: exterior walls are represented by thick walls, while interior walls are drawn with thinner lines.
- Read the room labels, which are typically labeled with their intended purpose, and check the dimensions given for each.
- Trace the circulation by following the path from the front door through the rooms and stairs.
Tracing a route is the quickest way to spot awkward layouts. If you must cross a bedroom to reach a bathroom, the plan will show it long before anyone builds it.
Doors, windows and stairs
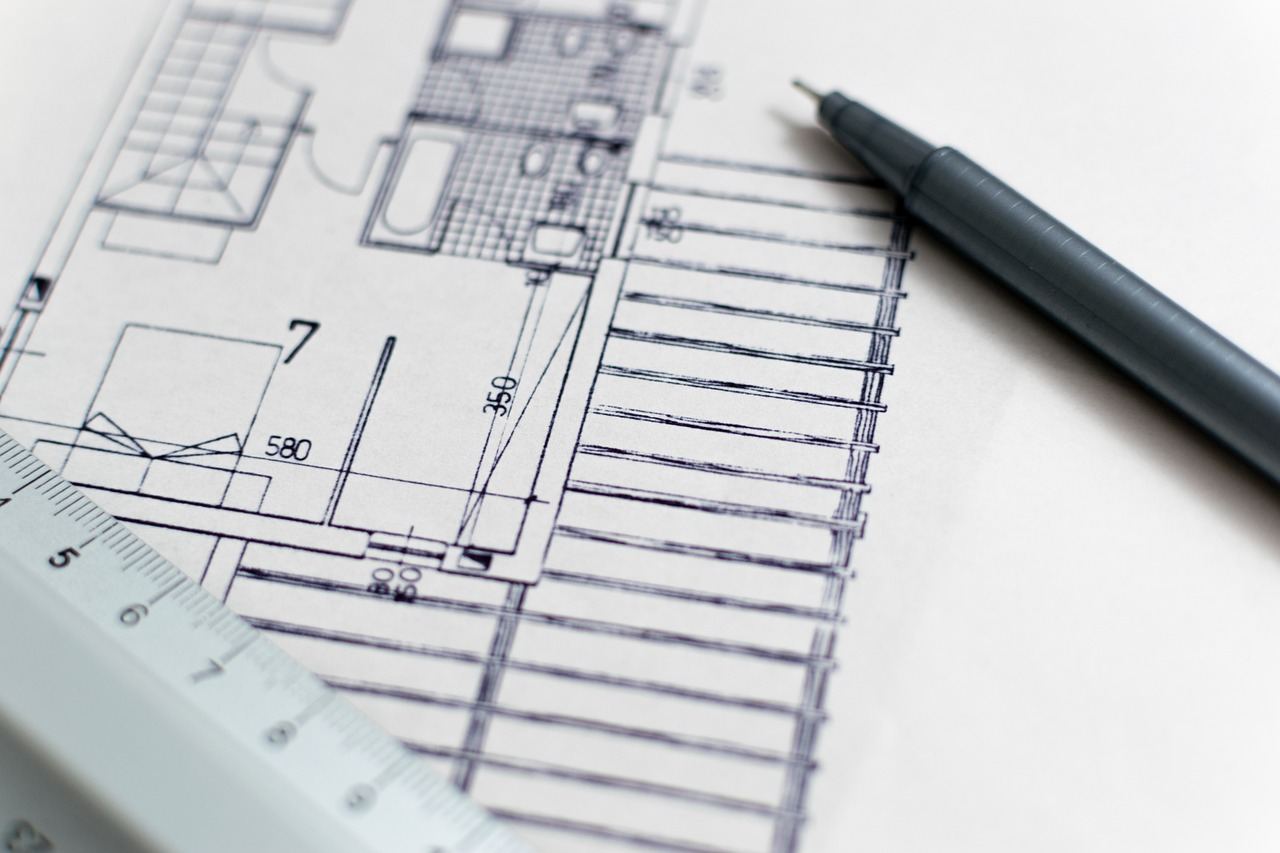
Openings shape how a space feels and works. Doors are typically depicted as straight lines that arc into the room, and the arc reveals the swing direction. That detail tells you where furniture can go and how people will move.
Windows are often represented as breaks in walls, with lines indicating how they operate. Take note of the number of windows in each room and their approximate dimensions, since these affect natural light and ventilation.
Stairs are drawn as a series of parallel lines with an arrow showing the direction of travel, per Cursa. Follow the arrow to see which way the flight climbs.
How to read floor plan symbols, abbreviations and the legend
Floor plan symbols are typically presented in two distinct styles: simple geometric shapes and lines, or stylized icons such as pictograms. Both stand for fixtures, appliances, stairs and other elements, as RoomSketcher explains.
Conventions vary between countries and offices, so always check the legend first. Every drawing set should include a legend or notes explaining special symbols. Dashed lines often mark hidden elements or things above the cut, like an overhead beam.
A few common abbreviations
A floor plan symbols and abbreviations glossary from a design-software blog lists many labels. These are a few of them:
- REF: refrigerator, a kitchen appliance symbol.
- LAV: lavatory, meaning a bathroom sink fixture.
- TLT: toilet, a common bathroom label.
- CL: closet, which can be walk-in or reach-in.
- NTS: not to scale, a drawing note for rough layouts.
Some letters change meaning with context. The same glossary shows E as either entry or electrical and advises you to clarify based on the floor plan legend.
Finishes get the same treatment. Look for abbreviations, hatch patterns, or legend notes indicating the different materials used throughout the home.
Beyond the plan: sections, elevations and other sheets
A floor plan is a horizontal slice through the building, usually imagined about one meter (or three to four feet) above the floor, per Cursa. Everything above that cut is removed, which is why a plan cannot show ceiling heights. Other drawings fill the gap:
- Section: cuts through the building vertically, as if someone sliced it open like a cake.
- Elevation: a flat view of one side of the building.
- Electrical plan: uses standard symbols to show the planned locations of light fixtures, switches, outlets, panels, smoke detectors, and other electrical elements, per RoomSketcher.
On the plan, a section line with arrows shows where the cut is made and in which direction you look. Follow those arrows so you know which side of the cut you are seeing.
The plan may show that a door exists, but its tag leads to a schedule with the size and type, as ArchitectureCourses.org points out. You rarely get the whole answer from one sheet.
Check the revision designation and issue date on the sheet you are using. If different sheets disagree, do not choose whichever looks newer without checking the issued set and asking for clarification.
Once plans make sense, you can compare how design movements shape buildings in architectural styles explained. For a single concrete example, read what is brutalist architecture.
Frequently asked questions
What is the first thing to check on a floor plan?
Show answer
Start with the title block and legend. They give the scale, issue date and revision, plus the meaning of any special symbols.
What does the arc beside a door mean?
Show answer
The arc shows the swing direction of the door, which helps you understand traffic flow and where furniture can sit.
Can I measure a room by holding a ruler to the screen?
Show answer
Not reliably. Printing or zooming can distort the size, so rely on the written dimensions and the scale bar, and subtract wall thickness if the plan uses centerline dimensions.
Why do two sheets in a plan set disagree?
Show answer
Drawing sets change during design and construction, so an older sheet may still be in circulation. Compare the revision and issue date, then ask for clarification instead of guessing.